
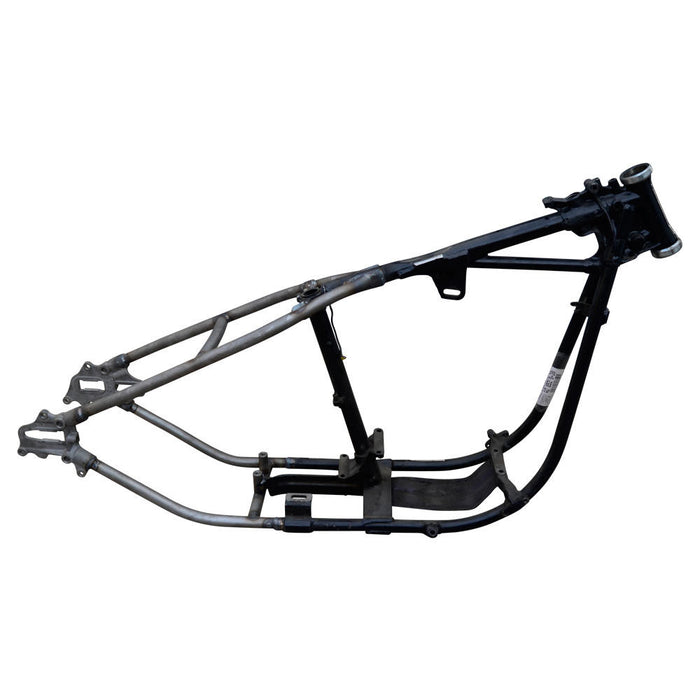


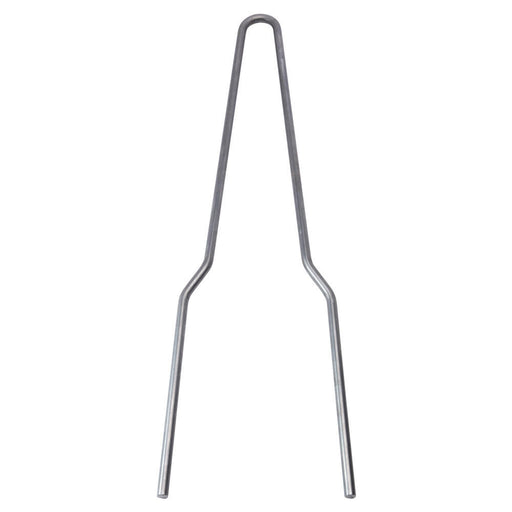

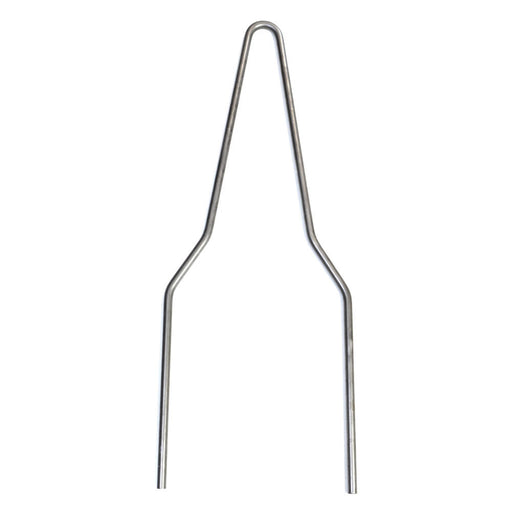


Following along with the photos in the PDF Shovelhead Hardtail instruction guide shown above, begin by noticing all precuts made on the original swingarm frame. Always cut long first and trim.
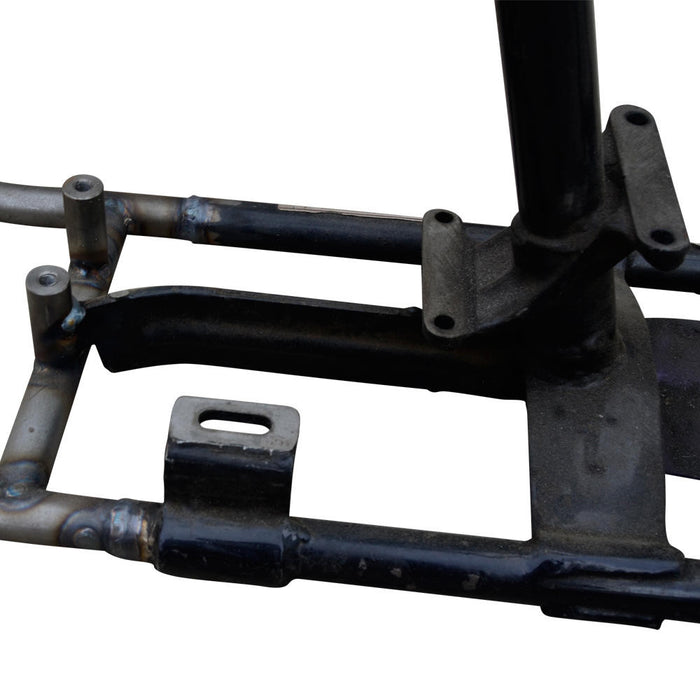
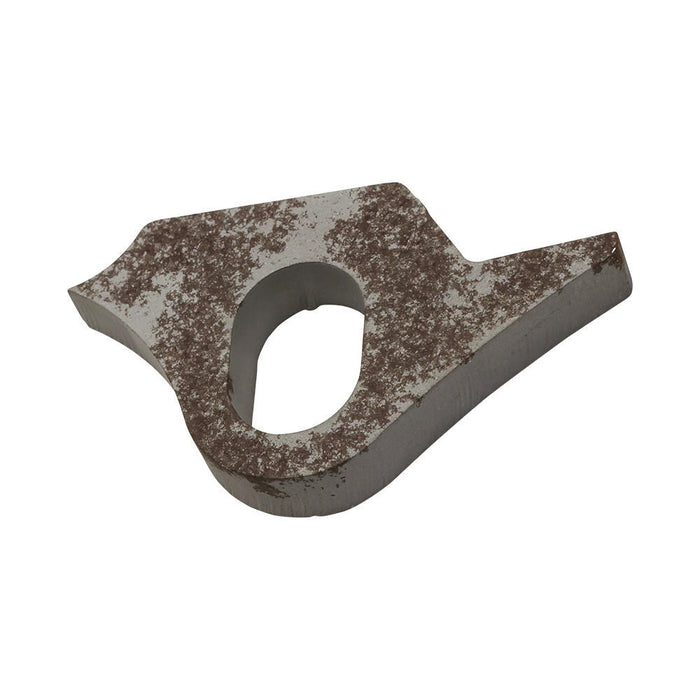
Page 2: Extract trans spud from brace leaving the brace intact. Cut the bottom frame rails at 7 3/4". Drill a 3/8" hole on each side lower for a rosette weld. Bevel the edges of the lower legs to allow proper penetration.
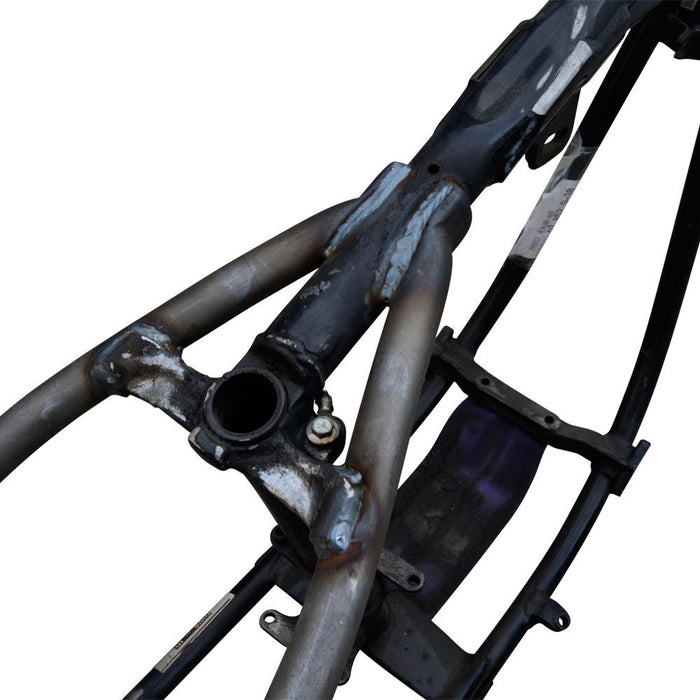
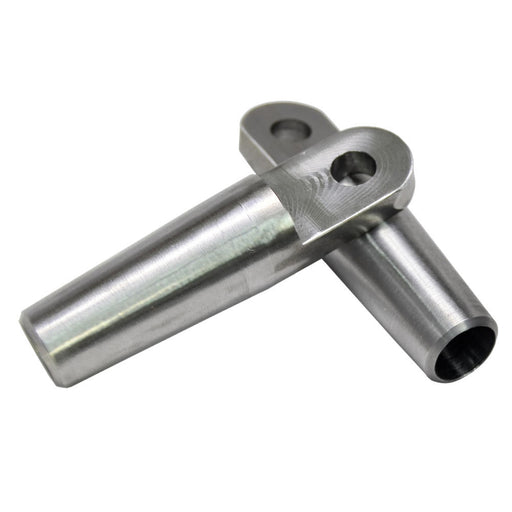
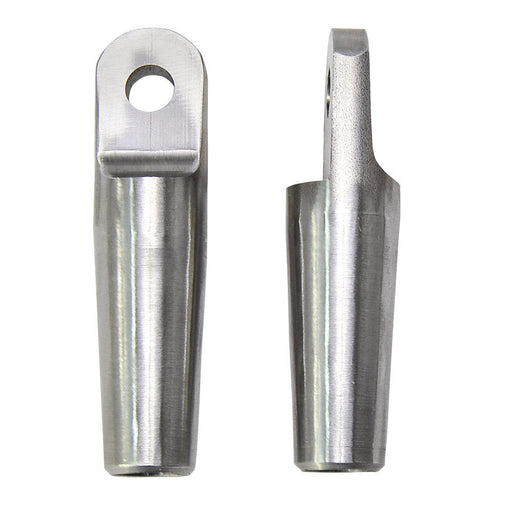
Page 3: Carefully remove top legs from backbone not cutting in to the backbone. Extract tubing from the casting carefully. You will be reusing the casting. A barrel sander works well. You will then need to cut the casting for the hardtail to slide on.
Page 4: After proper extraction. A barrel sander will make this part a bit easier on you.
Page 5: May need to use a clamp to get the top legs tight against the backbone. Pop the hardtail top tubes over the backbone. Use a clamp to allow proper alignment of the lower slugs. Be sure to debur the inside of the lower legs. Once the hardtail is all lined up and clamped into place, weld out the hardtail to your preference. Reweld in castings and sand to your liking. Line up lower legs and slide into place. Bolt on transmission plate to ensure proper alignment.
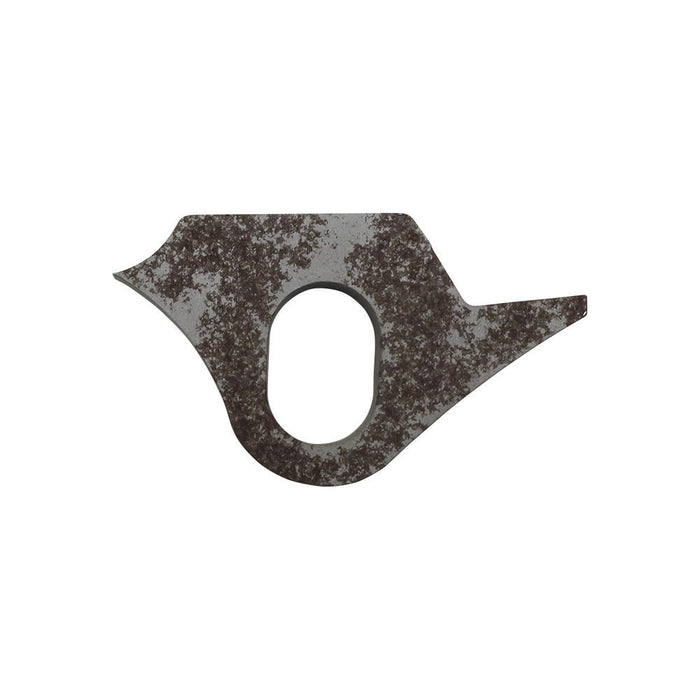
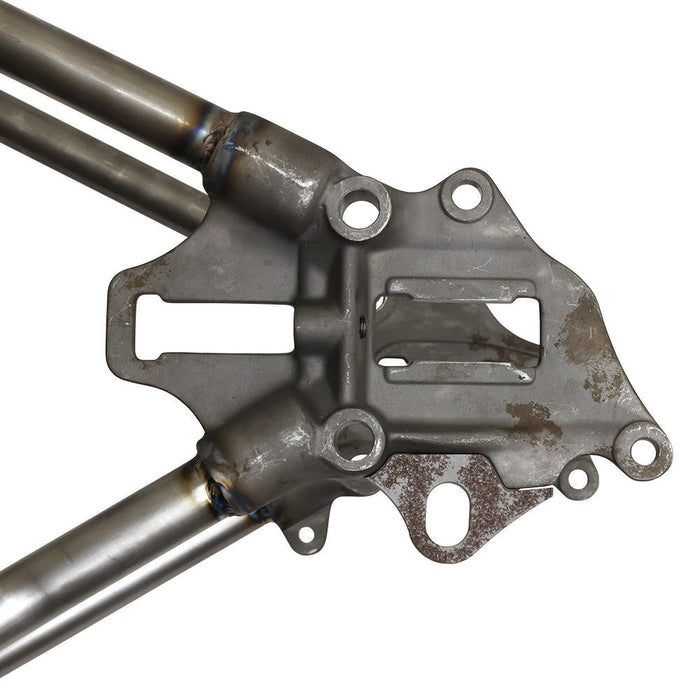
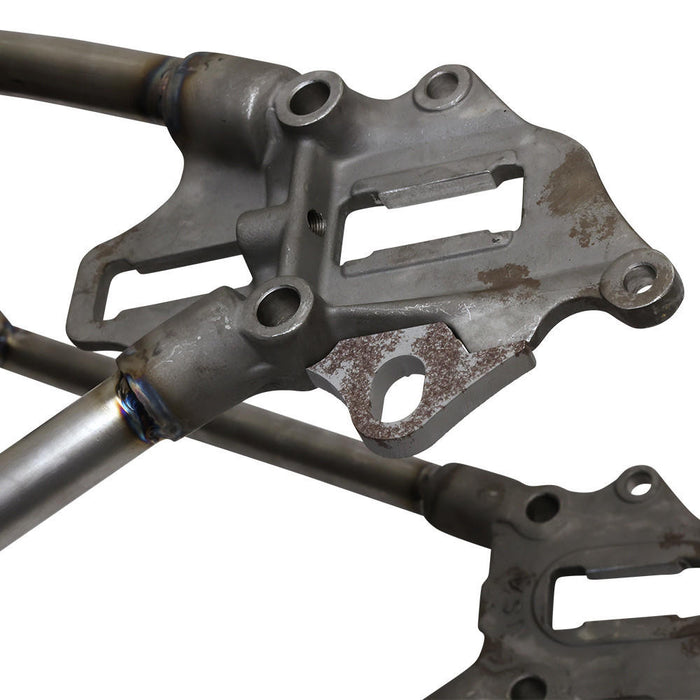
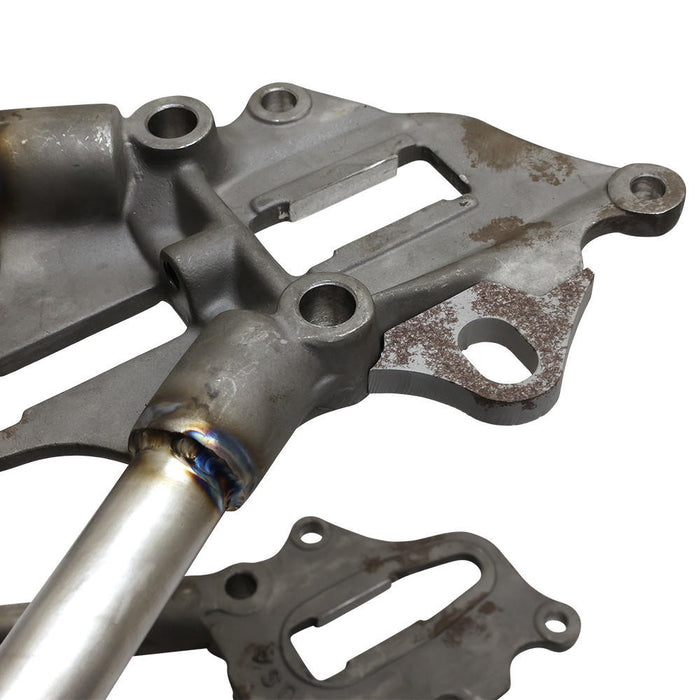
Page 6: Later frames will have the plating instead of the castings. Carefully remove the plating to not damage the backbone or seat post area.
Page 7: If you do not have the plating, you will have to finish off to your preference. This is an example of what we did.
Page 8: Weld and sand to preference.